Electro Etching – The Simple Battery Etch

by Matt Forrest
Matt Forrest shows how a small shop or an artist working
in their own home or studio, can use this simple method of electro-etching
without having to worry about their health or the effects
on others or the environment, and without having to spend a lot on materials and equipment.
This quick and simple method is designed to work with the copper sulfate etch process (for aluminum and zinc plates).

Some background:
I became interest in trying to push copper sulfate to its limits in 2008, after reading an article by Nik Semenoff (LEONARDO 1991 ” Using Dry Copier Toner in Intaglio and Electro-Etching of Metal Plates”). It was interesting to me because of its use of power, and the possibility for it to become a green resource in a printmaking department. I experimented with the mixture in the article using batteries and a brass rod instead of stainless steel. I also allowed the plate to lie on the rod in the
mixture – something that made the etch speed up. I used a Z*Acryl nontoxic ground to cover the plate (with the addition of a spayed-on clear coat to stop the ground breaking down in the bath), and the nontoxic solution to make the work.
Etching aluminum plates seemed to work best, zinc and steel were a little slower to react.By introducing a low level electric current to the bath by means of ordinary D-batteries attached to a brass rod (shown below) I managed to reduce the amount of copper sulfate needed in the etching solution quite considerably. This makes the process more environmentally-friendly (less solution to dispose of) and more economical too (less copper sulfate to buy and the bath lasts longer). So, by
using electricity you should expect to see a faster etch while needing less ingredients to make the bath.
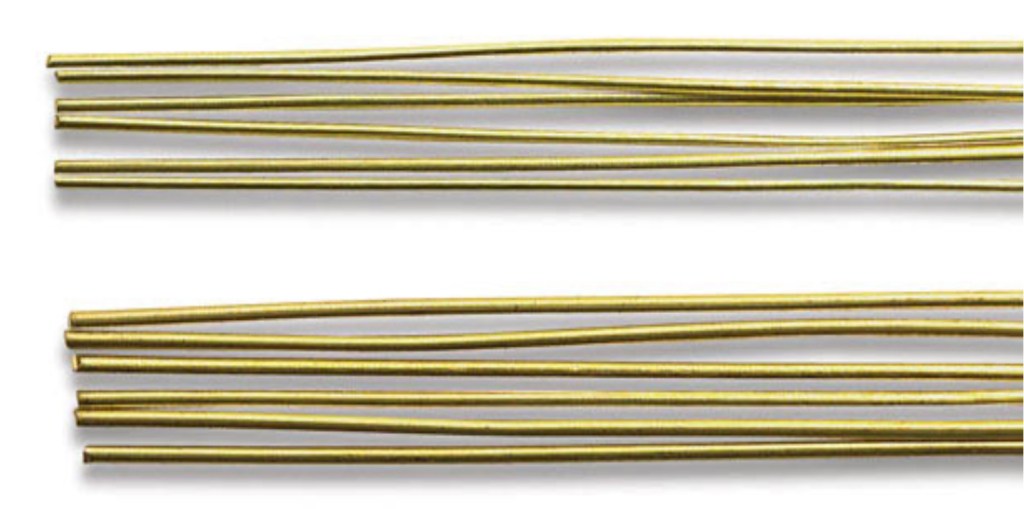
Metal Rods available at DickBlick.com
You will need:
To make up the Bath:
– 1 tablespoon of copper sulfate
– 1 tablespoon of salt
– 1 liter of hot water
Mix and let it sit for 30 minutes prior to etching.
Equipment:
– 2 D-batteries
– 1 small brass rod (http://www.dickblick.com/ item number 33417-9061)
– Battery pack with attachments (http://www.eastwood.com) or you can add the wires yourself.
– Tray
– Spill tray
The length of brass rod will be dependent on the size of your bath, but it should extend about 3 inches each side of the tray to allow you to attach your wire clips.
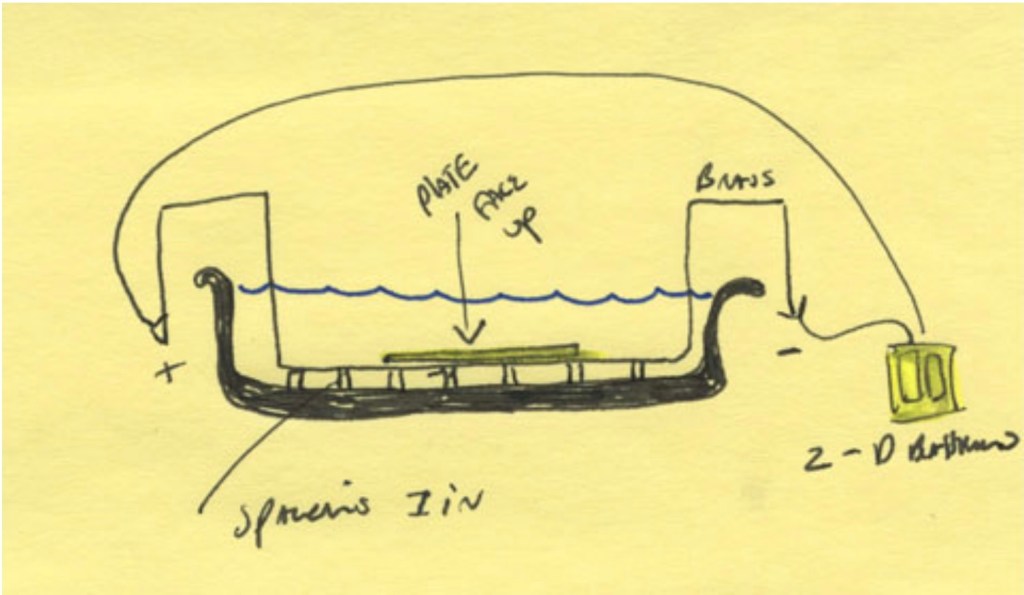
What to do:
The setup is simple, allowing even the most basic shop to have access to an electric etching system.

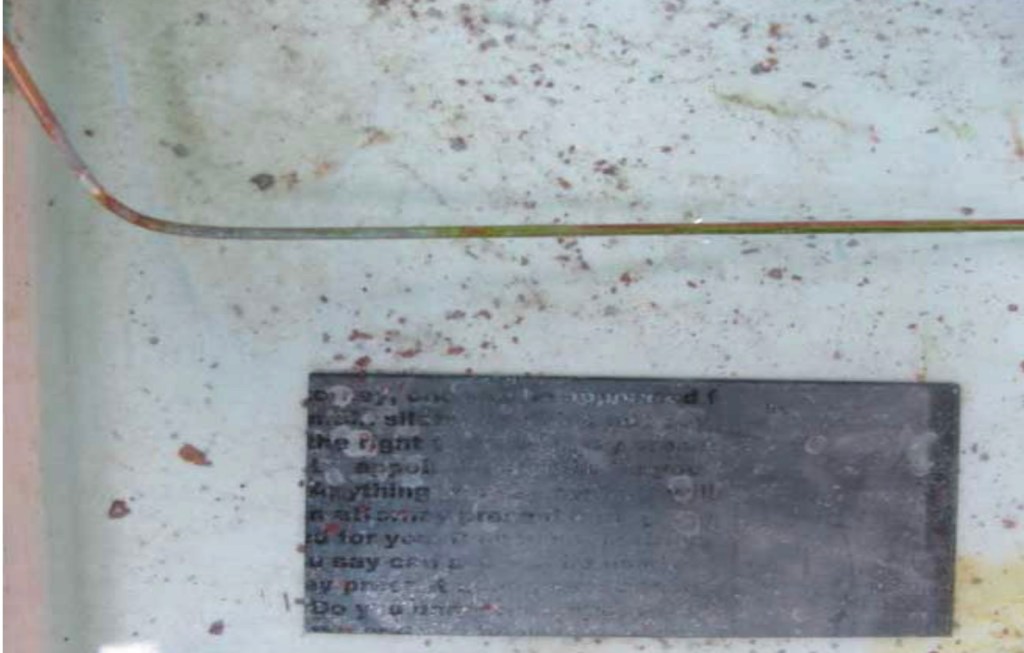
Two D-batteries are all the current required (about 3 volts). This power is used to draw the chemical onto the plate and by laying the plate onto the rod you make the plate conductive. I have found that by laying the plate onto the rod, the etch is speeded up significantly.
Remember that brass can be used because it has a very low nickel content. The rod may become discolored over time.Timeline:
The bath will last about 3 days with medium use (e.g. etching 10 5 x 7 inch plates)
The batteries will last much longer – up to about 2 weeks.
Remember to disconnect your batteries after use.
And you should buy rechargeable ones to make the method even more economical.
Etch Time:
To etch deep lines it will take 7 minutes and upwards. The longer you go, the deeper the line becomes and the darker the line on your print. Set up your own timeline to run a basic test before you etch. If the bath is too weak, simply re-mix it using a larger amount of copper sulfate.
A note on safe use and disposal:Remember that even though this method reduces the quantity of copper sulfate, you still need to disposing of your etching solution in a responsible manner. Follow the simple steps for safe disposal on this website and others such as http://www.ndiprintmaking.ca/.
…………………………………………………………………………………………………
© 2025